The 10th day of class was interactive cards. I love interactive cards. However, I’m doing landscape cards this year, so just went with a shaker. Granted the sentiment swings inside, which adds a bit of fun.
Had a lot of fun designing this one.
Thank you for spending some of your valuable time with me today.
Made these shaker cards today. They are for a couple of people I really appreciate.
Monkey Business Floral Thanks
So the top picture is on its side and the bottom one is upside down. Took both pictures holding my phone the same way. Sometimes technology just does its own thing.
Thank you for spending some of your valuable time with me today. Have a wonderful weekend.
My “square” is a shaker with lots of fun elements that went well with the paper, as well as some dark browns for coffee. Inside is a sentiment from the BB Hug It Out set, “I Know Hugs are Healing, so I’m sending you my best hug ever.” Used some glitter paper for the coffee cup.
My take on the sketch is a bit different, but I had fun with it and made it for someone in particular.
Thank you for spending some of your valuable time with me today! Have a great rest of your weekend.
For any of those who know about my health, I started on a new type of pump on Thursday. The sensors arrived today, which will help keep me level. I’m really looking forward to seeing how the Tandem pump and the Dexcom sensors help stabilize my diabetes.
Any sort of interactive element on a card makes it that much more fun. Shaker elements are easy, so for this card, I made the whole background a shaker.
To make the shaker, I took a piece of medium weight paper, added some color using a brayer. I then took some of the plastic packaging stamp sets and most everything else come in and cut it down to a bit bigger than my piece. I used an anti static tool on both pieces, then put score tape on the back of my colored piece. Wrapped it fairly tightly across, then did one of the small sides. I did trim a bit at the corners, so the wrap wouldn’t stick out. Added a bit of the corn starch from my tool in the pocket and then started adding sequins, seed beads, some chunky glitter, etc. sealed that last end on the back and had my panel. I used more score tape to make sure it was sealed tightly and some going across to put it on the base card.
Stamped and colored my images and sentiment strip and used liquid adhesive to attach to the front. A couple could have been attached to the colored panel before making it into a shaker, but I wanted all of mine on the outside.
This was made for the MFT Camp Create Day 1 challenge. My nephew will be getting it for his birthday. I did stamp “Happy Birthday” inside.
It didn’t take too long and was a lot of fun to make. I know my nephew will enjoy it.
Thanks for spending some of your valuable time with me today.
When I was checking my email today, I saw that the new A Blog Named Hero challenge was anything goes. Also saw a couple of videos on different ways of doing shaker cards (I’ve tried more than those). And, a friend recommended the Shopping Our Stash Weekly Challenge as a great place for challenges. Their challenge, which ends today is to use hearts in some way. So . . . I had some fun.
Had some fun, as well as some frustration. I LOVE the color layering stamp sets from Hero Arts. However, they have these tiny little stamps for details that are next to impossible to line up properly because they are so stinkin’ small. The beak and eye detail stamp kept moving on me and never did quite line up properly.
I used their Color Layering Peacock, as well as their Color Layering Koi sets. The sentiment is from the Koi set. I also used some Distress inks to blend the background and do the peacock. The shaker uses a shimmer sheet and lots of shaker elements from who knows where. There are several heart pieces in the shaker elements. You can actually see some of the orange ones in this picture.
Thanks for spending some of your valuable time with me today. Have a wonderful week.
I wanted to make a fun Valentine for my husband. Granted, he normally gets a few throughout the day. The Simon Says Stamp Monday challenge was to make a shaker card, so I went with that, as I enjoy making shaker cards.
This was quite a fun one to make, as it has a huge shaker. I decided to put the sentiment on the inside as I didn’t want to cover up much of the shaker window.
There’s not a whole lot of room to write on this one as the base is black, but it’s still a fun card.
Products Used:
Black and White card stock
Circle Die
Rectangle Die
Tulle
Chunky Glitter
White & Silver paint pens
Altenew To the Moon set
Foam tape
Liquid Glue
Thank you for spending some of your valuable time with me today. Try something new and just have fun doing it, no matter how it turns out.
It does look better in real life, but it was fun. Even though I had all my pieces laid out and the went completely around my rectangle, when it came to gluing them in, I got off. Oh well, it left room for my sentiment. Just a hint: stamping before putting your shaker on top (or anything large) works much better.
Thanks for spending some of your valuable time with me!
The front follows the MFT Wednesday Sketch challenge and uses their Cafe All Day Die-Namics, as well as a labels die from Spellbinders. I also wanted to use it for the Mod Squad Challenge, so I used sticker borders for the sticker portion of the challenge. The sequins are 4 different brown colors to imitate coffee.
Now, for the WeCraftCards challenge, it had to be a pocket card, so here’s the inside:
Used more sticker borders on the inside, too. Definitely had fun with this one.
Thanks for spending some of your valuable time with me today.
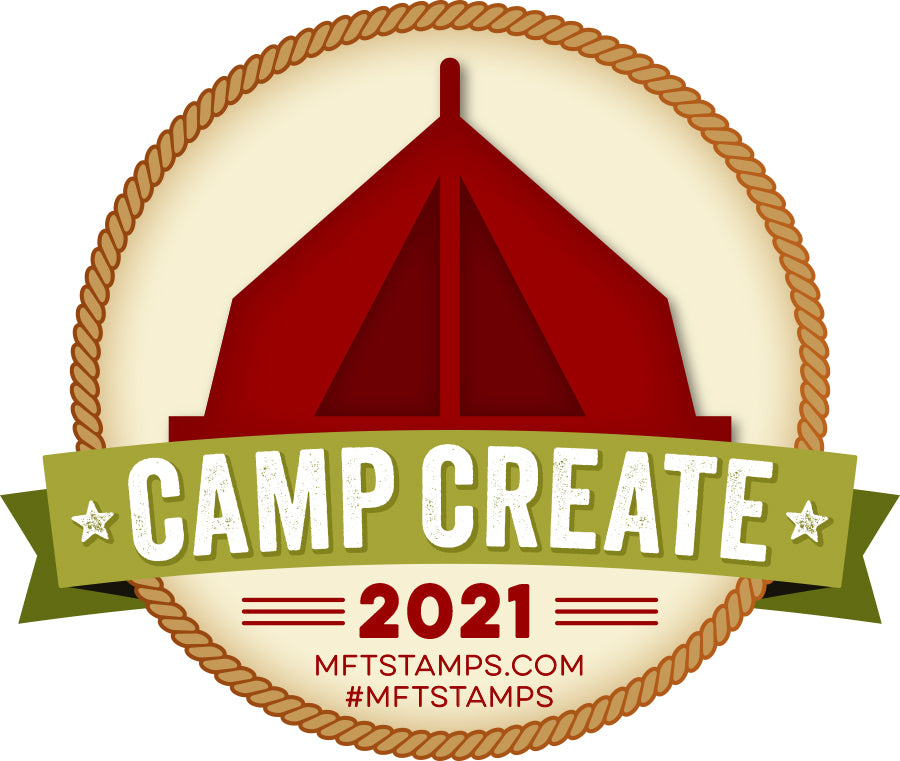
My Favorite Things Camp Create Day 3 was Spectacular Shakers:
For this one, I knew I wanted to use an alcohol ink background for the inside of the shaker, and I knew I wanted to do a tree. What I wound up with was not at all what I had been imagining, but that’s how I create.
First I picked some paper that went with the alcohol ink panel I chose, then I found a tree die. Cut the tree out of the paper, mounted the alcohol ink panel behind where it would be, created my shaker area with foam tape, added sequins that went with the colors in the background, stamped a sentiment on the paper and then had problems. I used some silver pigment ink to stamp with, as I wanted it to shine. Unfortunately, you couldn’t really see the sentiment. So, went over it with a Sakura Stardust pen. Following the lines of the sentiment wasn’t easy (it was also late at night and I don’t do late well). Anyway, this is what I wound up with:
Even though the sentiment is a bit wonky, I absolutely love the shaker part of it. The sentiment stamp is from the Seasonal Sentiments set and is really pretty when done correctly.
Thanks for spending some of your valuable time with me today!