Winter Cards

It’s definitely not winter here, but it’s fun to make Christmas and winter cards as homework for the Holiday card Workshop 2021 at OnlineCardClasses. Com.

Day 6 was Stepped Up Stencils. They had some fun ideas for using stencils. Here’s what I did:

Had fun masking and inking. I did use a different stencil with glitter glue on the top right and bottom left areas, but I was almost out and it didn’t work well. My son really liked it, though. I decided to do a small shaker in the center. My husband couldn’t read the sentiment, so I went over the words with a blue Sakura Stardust pen.

Day 7 was Blended Backgrounds with Extra Details. I liked what they showed, but did mine differently.

I started by foiling some snowflakes, then masking and inking my panel. I wasn’t sure if heat embossing on top of the foiled panel would work, but was impressed when it worked beautifully. The foil is a pearl looking one and the embossing is black.

Definitely had fun with both of these.

Thank you for spending some of your valuable time with me today.

Playing with New Tools

So, my birthday was last week. I turned 51, which is pretty amazing, as I was told all while I was growing up that I wouldn’t live to be 40 and before that I would go blind and have parts amputated. This is bonus year #12 that God has blessed me with. I still have my sight and all my parts. I know God has a purpose for my being here, or I wouldn’t be. So, I try to do His will for me.

Anyway, I got lots of crafting things for my birthday and got to play for a while on my birthday, as I spent part of the day with my BFF. Made this first card using a fun Simon Says Stamp stencil and some Lindy’s Magicals in Autumn colors.

Instead of using the Magicals as they were supposed to be used, I used them more like Perfect Pearls, where I used VersaMark ink through the stencil, then sprinkled on the different colors of Magicals (5 colors), then misted with water. It has INCREDIBLE sparkle. Used a Simon Says Stamp stamp set for the butterfly and the sentiment. I wrote the names on the back of the piece, then adhered it to the layer and base. Oops! The butterfly is gold embossed on acetate. Used the same gold embossing powder for the sentiment on a plum cardstock.

Entering this one in the Simon Says Stamp Blog Monday challenge.

This next one I did using some ombre’ glitter paper I got at the Stamp & Scrapbook Expo on Friday (my daughter and I went together).

Had a lot of fun cutting out the leaves from different papers and making a “wreath”. I used some Wink of Stella on the “thanks” to give it some sparkle, too. I liked leaving the rest of it blank. I did add some of those leaves falling down the inside right side.

I have so many more things to play with that I hope to share, soon.

Thanks for spending some of your valuable time with me today! (If I don’t reply to your comments right away, please know I’m crazy busy right now with our Women’s Advance on Saturday, as well as some other church things, so it may take a bit, but I definitely will reply. I appreciate your comments.

Sweet Elephant

MFT has an interesting sketch challenge up for this week:

They also have a nice color challenge up:

So, I thought it would be fun to play with both.

The elephant really is a dark gray, but the purple shows through the acetate a bit more than anticipated. I was pleasantly surprised at how well alcohol markers worked on acetate.

For this I used:

  • Picket Fence Funky Leaves Stencil
  • Pixie Spray
  • Ranger Distress Oxide ink in Tumbled Glass and Shaded Lilac
  • Blending brushes
  • Versamark Ink
  • Ranger Black Super Fine Detail embossing powder
  • Hot Off The Press Heat Resistant Acetate
  • Marvy Heat Tool
  • Chantilly Cream card
  • White card
  • MFT Sweetest Safari Set 1

Had a lot of fun making this card. I finally figured out how to make my Pixie Spray work right. Don’t follow the instructions, use it about 3 inches above the stencils.

I’m excited to use another stencil I sprayed with Pixie Spray and try it with something new. Ideas are brewing, now to find time to try them.

Thank you for spending some of your valuable time with me today! Have a wonderful week!

Again for Erika

So, here are the MFT Summer School challenges, that I did again, with Erika and my challenge in mind.

Day 1: Triangles

8-7-20 WCC MFT Triangles

Spent more time trying to rehydrate my Nuvo Embellishment Mousse, than anything else.  Distilled water works, as long as it hasn’t completely dried out.  A lot of work, though.

Day 2: Rainbow

8-7-20 MFT Rainbow

I used some MFT rainbow paper, as well as their rainbow set and die.  Yes, the actual rainbow is out of order, but I still like it.  Definitely had fun and got very inky with this one.

Day 3: Symmetry

8-7-20 MFT Symmetry

Yes, I have 2 of these.

Day 4: Ombre’

8-8-20 MFT Ombre

I embossed everything on the vellum with purple embossing powder, then went back and embossed just the unicorn with a glitter embossing powder that had purples, blues, greens, etc. in it.  Added a bit of glitter here and there on the unicorn, as well.

Day 5: White Space = Black Space

8-8-20 MFT Black space

Opal blaze through a stencil uses a LOT of the blaze.  It’s much prettier in real life.  I also used a triangle and ombre’ on this, as well.

Thanks for taking some of your valuable time and spending it with me today.

Embossing Fun

This week I had some fun with an embossing stencil, some ink and patterned paper.

Products Used:

  • LL588 Stencil (Dreamweavers Stencils)
  • Inks: Sweet Mango, Blue Lagoon, Applemint (Gina K.)
  • Patterned Paper:  Made With Love pack (Gina K.)
  • Card Stock: Heavy Base Weight white (Gina K.) and White (Recollections)
  • Ribbon: Green Organza (360 – Michael’s)
  • Adhesive Runner (Scotch Advanced Tape Glider)
  • Removable Tape (Scotch)
  • Light Box (Light Tracer by Artograph)

To start, I taped my stencil to a piece of white card with removable tape.

8-13-16 Blog 1

When you flip it over and turn the light table on, you can see right through to trace it with the round embossing tool seen on the table.  Before embossing, rub the card stock with wax paper (it makes it much easier to trace).  Just a hint, if you use really heavy weight card stock, or dark colored card, it is very difficult to see through to trace.

8-13-16 Blog 2

Then I found the papers I wanted to use from my paper pack, chose my ink colors to go with the papers, and started inking my design, with the stencil still attached.  Ink through the stencil.

8-13-16 Blog 3

I did use a touch of red ink for the tongue.  I also used a fine point black pen to color the eyes.  When you remove the stencil, make sure you rinse it with water to clean it off, then dry it well.

8-13-16 Blog 4

After cutting around my embossed image, I cut a strip of the green for behind it.  In the finished card, I layered the green on a strip of white card to offset it a bit, as the 2 patterned papers together was too busy looking.  I did cut close to my embossed and inked image, so you could see the green through around the tail and legs.

8-13-16 Blog 5

I figured out where I wanted the ribbon behind the image piece, then put it on the background patterned paper, before adhering that to the base card.  I stamped the sentiment onto a die cut piece of vellum, then traced it with a teal Stardust Pen to give it a bit more color and some sparkle.  Adhered that to the ribbon with Vellum Adhesive by Therm-o-web.

Inside, I put a small strip of the background patterned paper, crossed by a small piece of the green patterned paper.  The inside sentiment is stamped with Blue Lagoon ink (same as the outside) in the center.

8-13-16 Blog 6

I have embossed and inked this dragon with many colors, but I don’t think any have been as fun as this with the bright colors.  Try doing things a bit different than expected and you might really like what you achieve.

Thanks for spending some time with me today.  Now, go out and enjoy the rest of your weekend.

Stencils: Coloring

There are lots of different types of stencils, from brass and other metals, plastic, down to ones you make yourself out of paper.  The fun thing about stencils is that you can use them in different ways.

4-1-14 Stencils 1

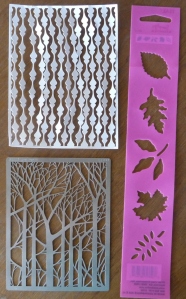
The one on the bottom is a metal stencil called Bare Trees (Dreamweaver), the one on the right is a thin plastic (Plaid), and the one at the top is one I cut out of lightweight card stock on my Silhouette.  You can use punches, or even rips to make your own.

4-1-14 Stencils 2

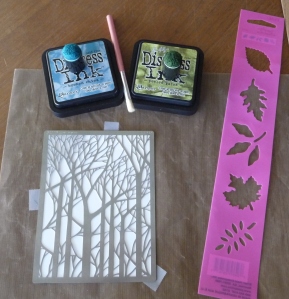
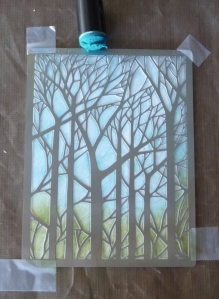
There are different ways to color using stencils.  For this one, I taped my card stock to the stencil and I am choosing to use sponge daubers with distress ink.  You can also use stencil brushes for dabbing in the ink, then pouncing all over the stencil and paper.

4-1-14 Stencils 3

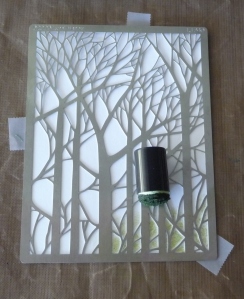
For this, I swirled my sponge dauber on the green ink pad to ink it up, then started swirling it on my craft mat, then up onto the card stock/paper.  I continue inking up the dauber as needed, but always starting off the paper and moving my way up onto it.  If you start swirling on your paper/card, it can be way too dark in one spot, where this way you can add a little color at a time to get it just the right shade.

4-1-14 Stencils 4

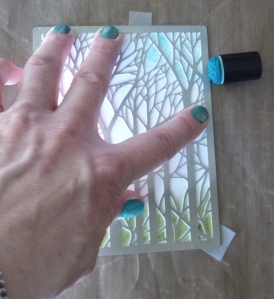
I do hold the stencil down while adding the color to make certain it doesn’t move and that the color is not getting under the stencil.

4-1-14 Stencils 5

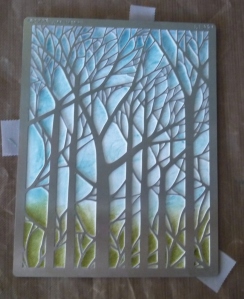
This is done being colored.  You notice I have some areas darker than others, which seems more realistic to me.

4-1-14 Stencils 6

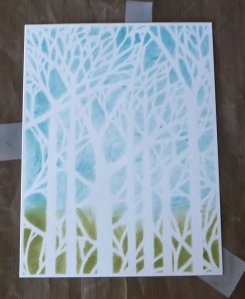
Here I have just removed the stencil, so you can see the finished product.

4-1-14 Stencils 7

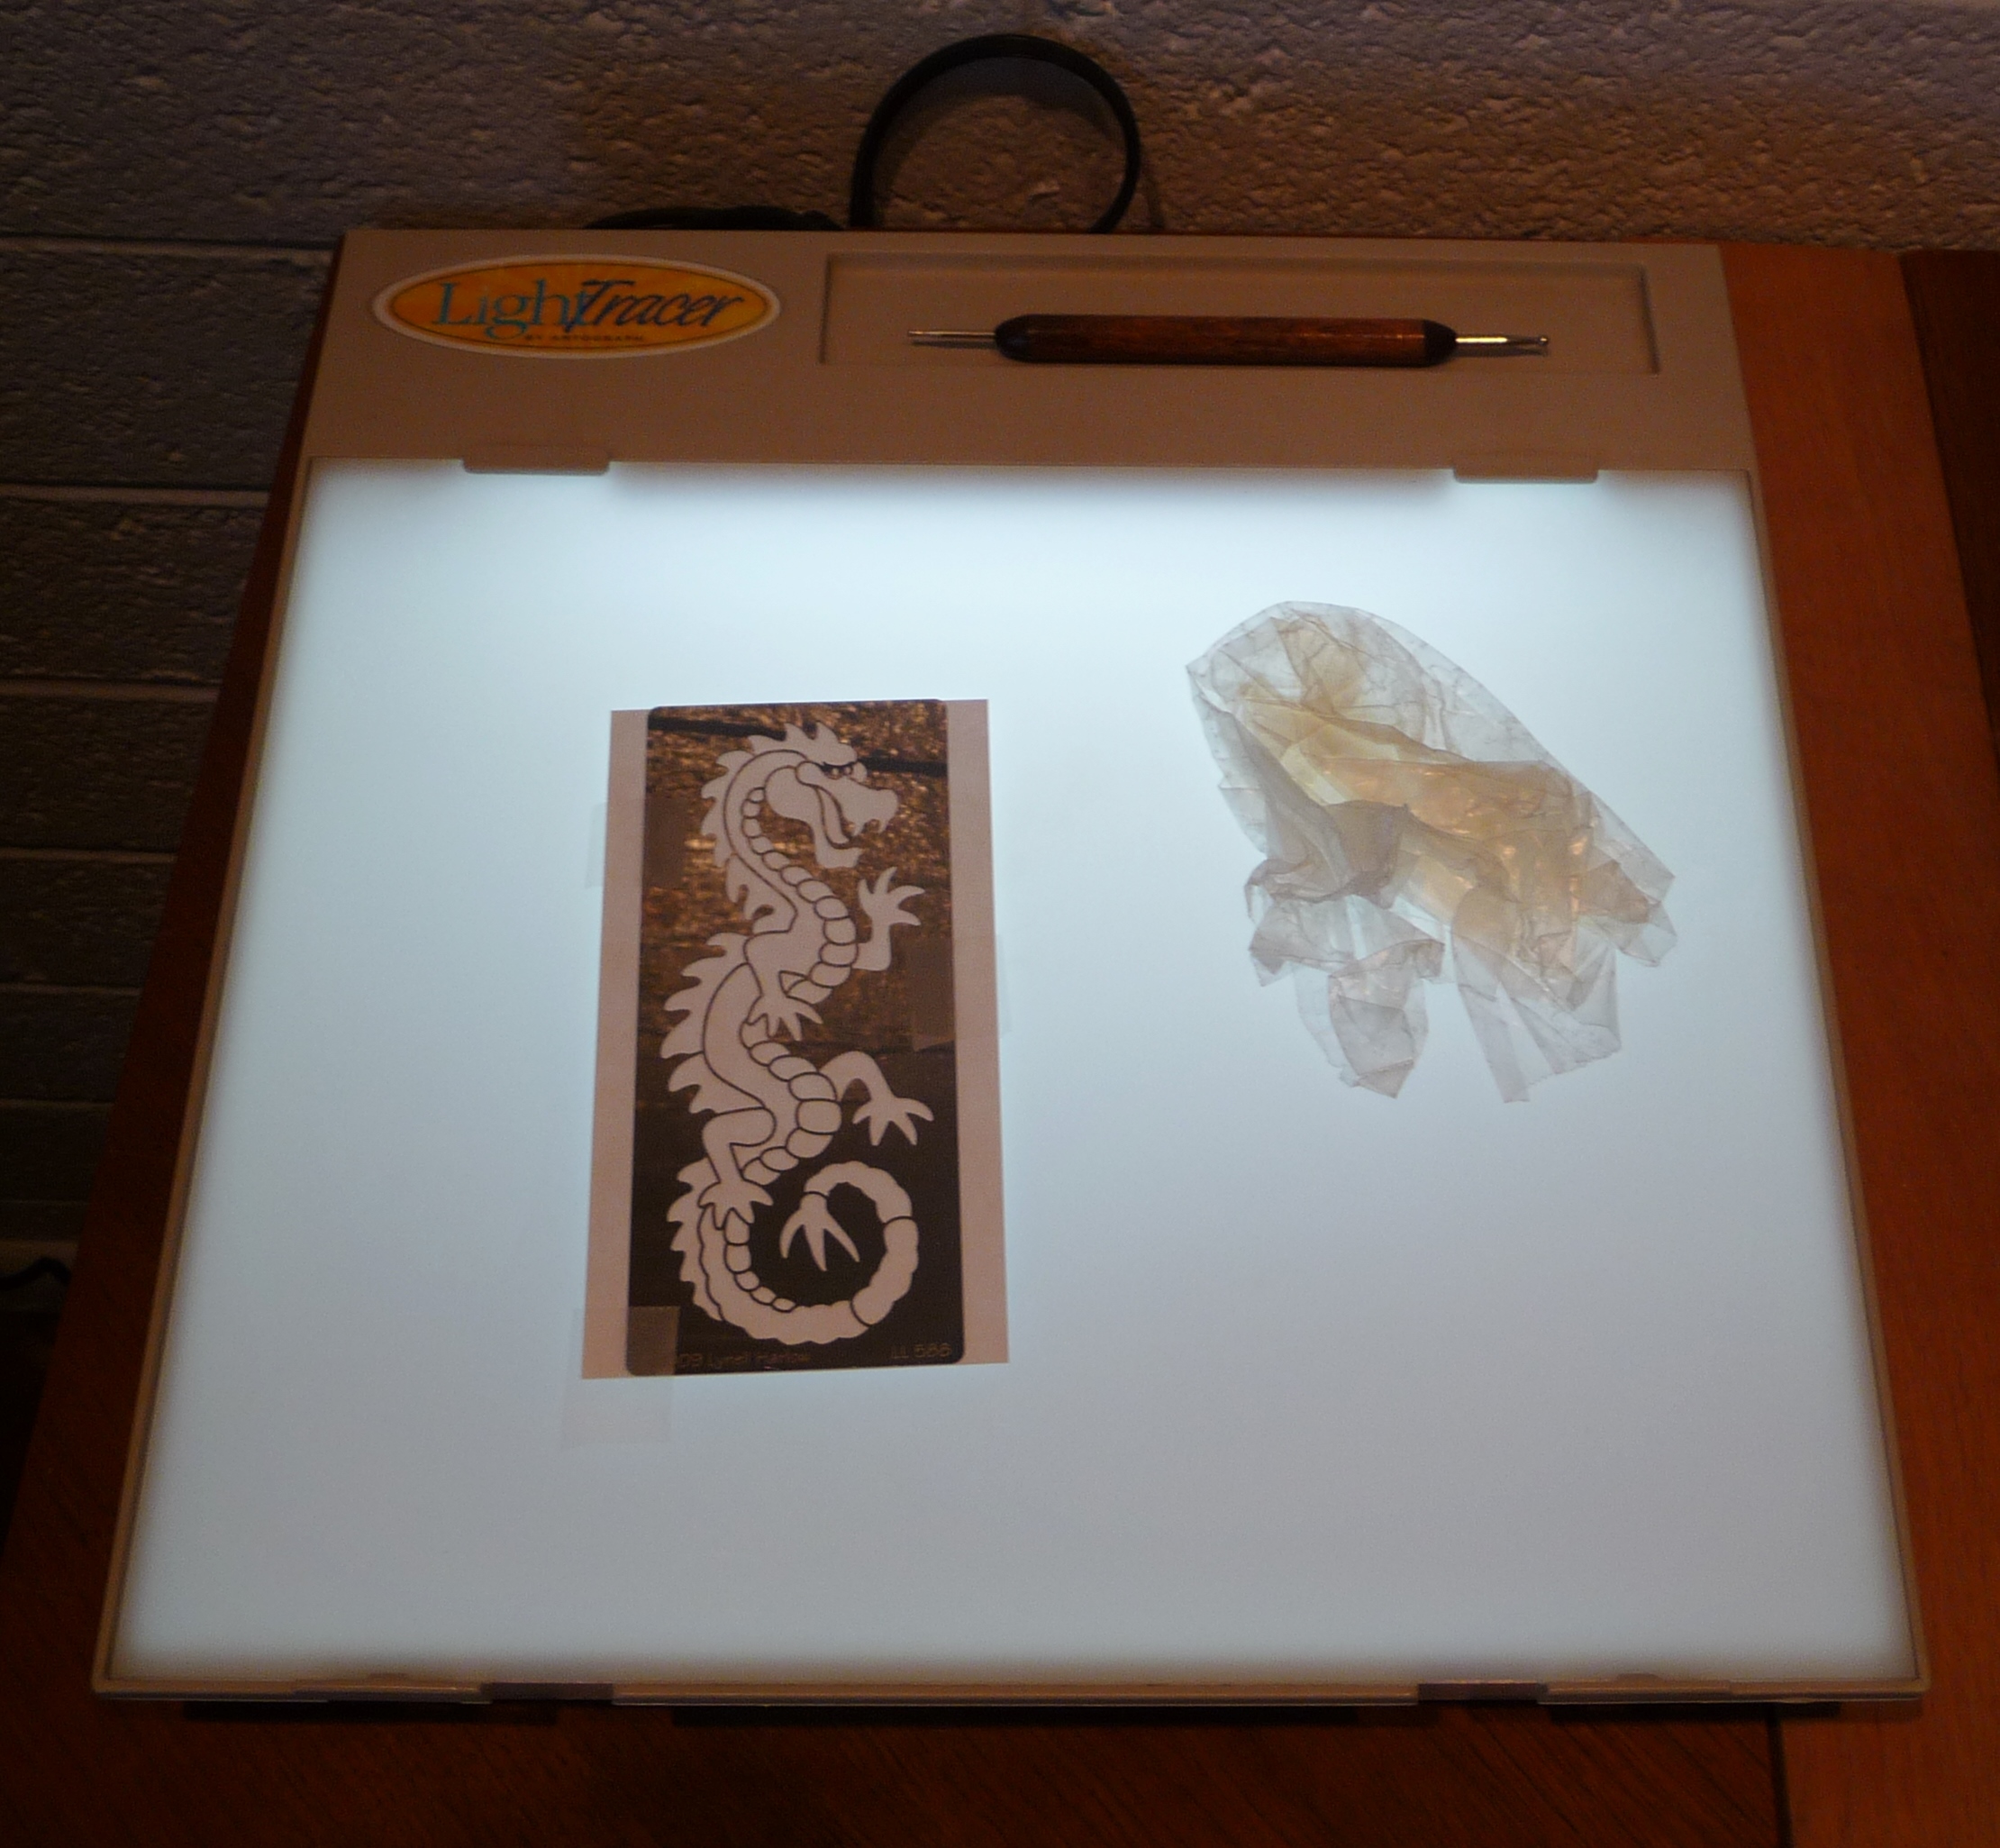
For my next way of coloring, I taped my card stock onto my stencil, then flipped it over so the card is on top and put it on a light box.  If you don’t have a lightbox, you can tape it (or hold it up) to a window or glass door with light outside (this works on a glass top table with light under it, too).  Then I rub all over the card/paper with wax paper to transfer a tiny bit of the wax and make it more slippery.  Then I used a ball end tool to go around the stencil to push the paper up around the stencil.

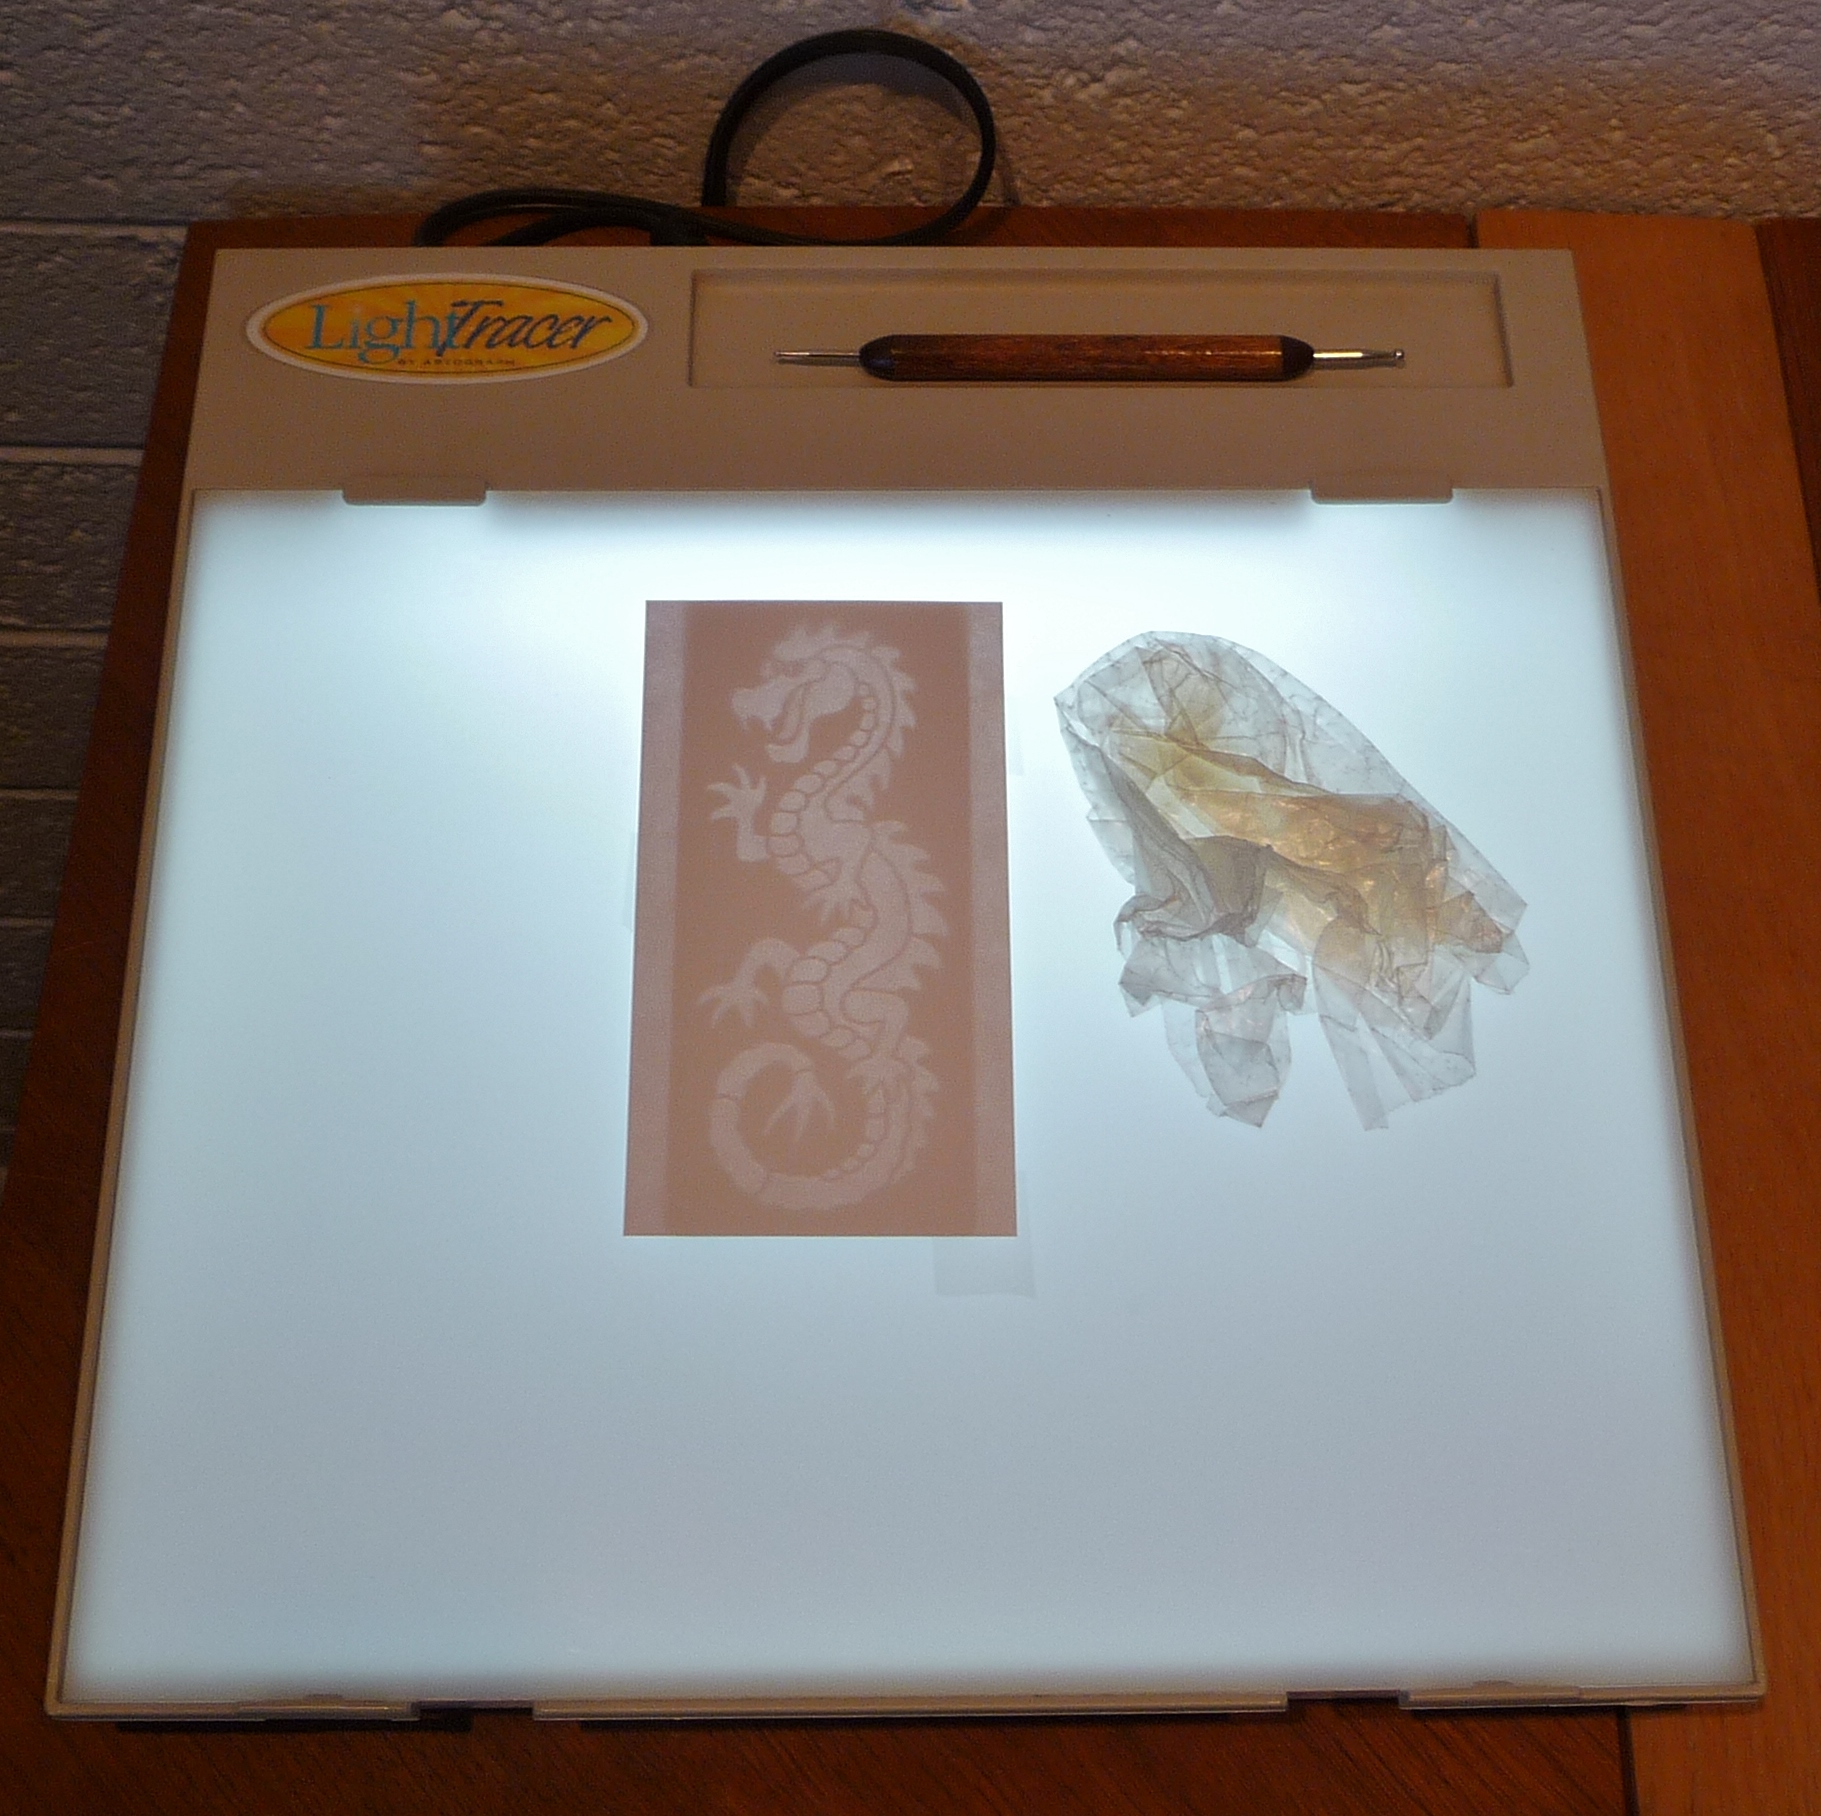
Leave your paper/card attached to the stencil and flip it over to color in the same way as before.

4-1-14 Stencils 8

4-1-14 Stencils 9

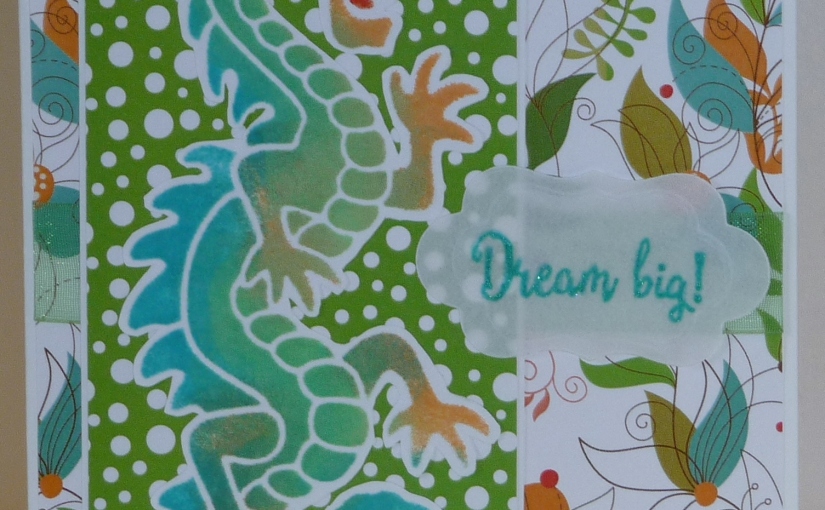
The finished product.

Other ways to color using stencil would be spraying or misting ink across with the stencil attached.  You could also pat ink on with the ink pad itself, though that would make it quite dark with less opportunity to blend.

When you use a metal stencil, make sure you rinse it with warm water right away to remove the ink.  If you use embossing paste or gesso, you may need to use dish detergent to clean it, as well.

4-1-14 Stencils 10 MFP SWAT STV Knot

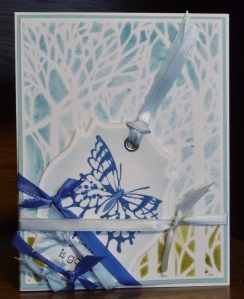
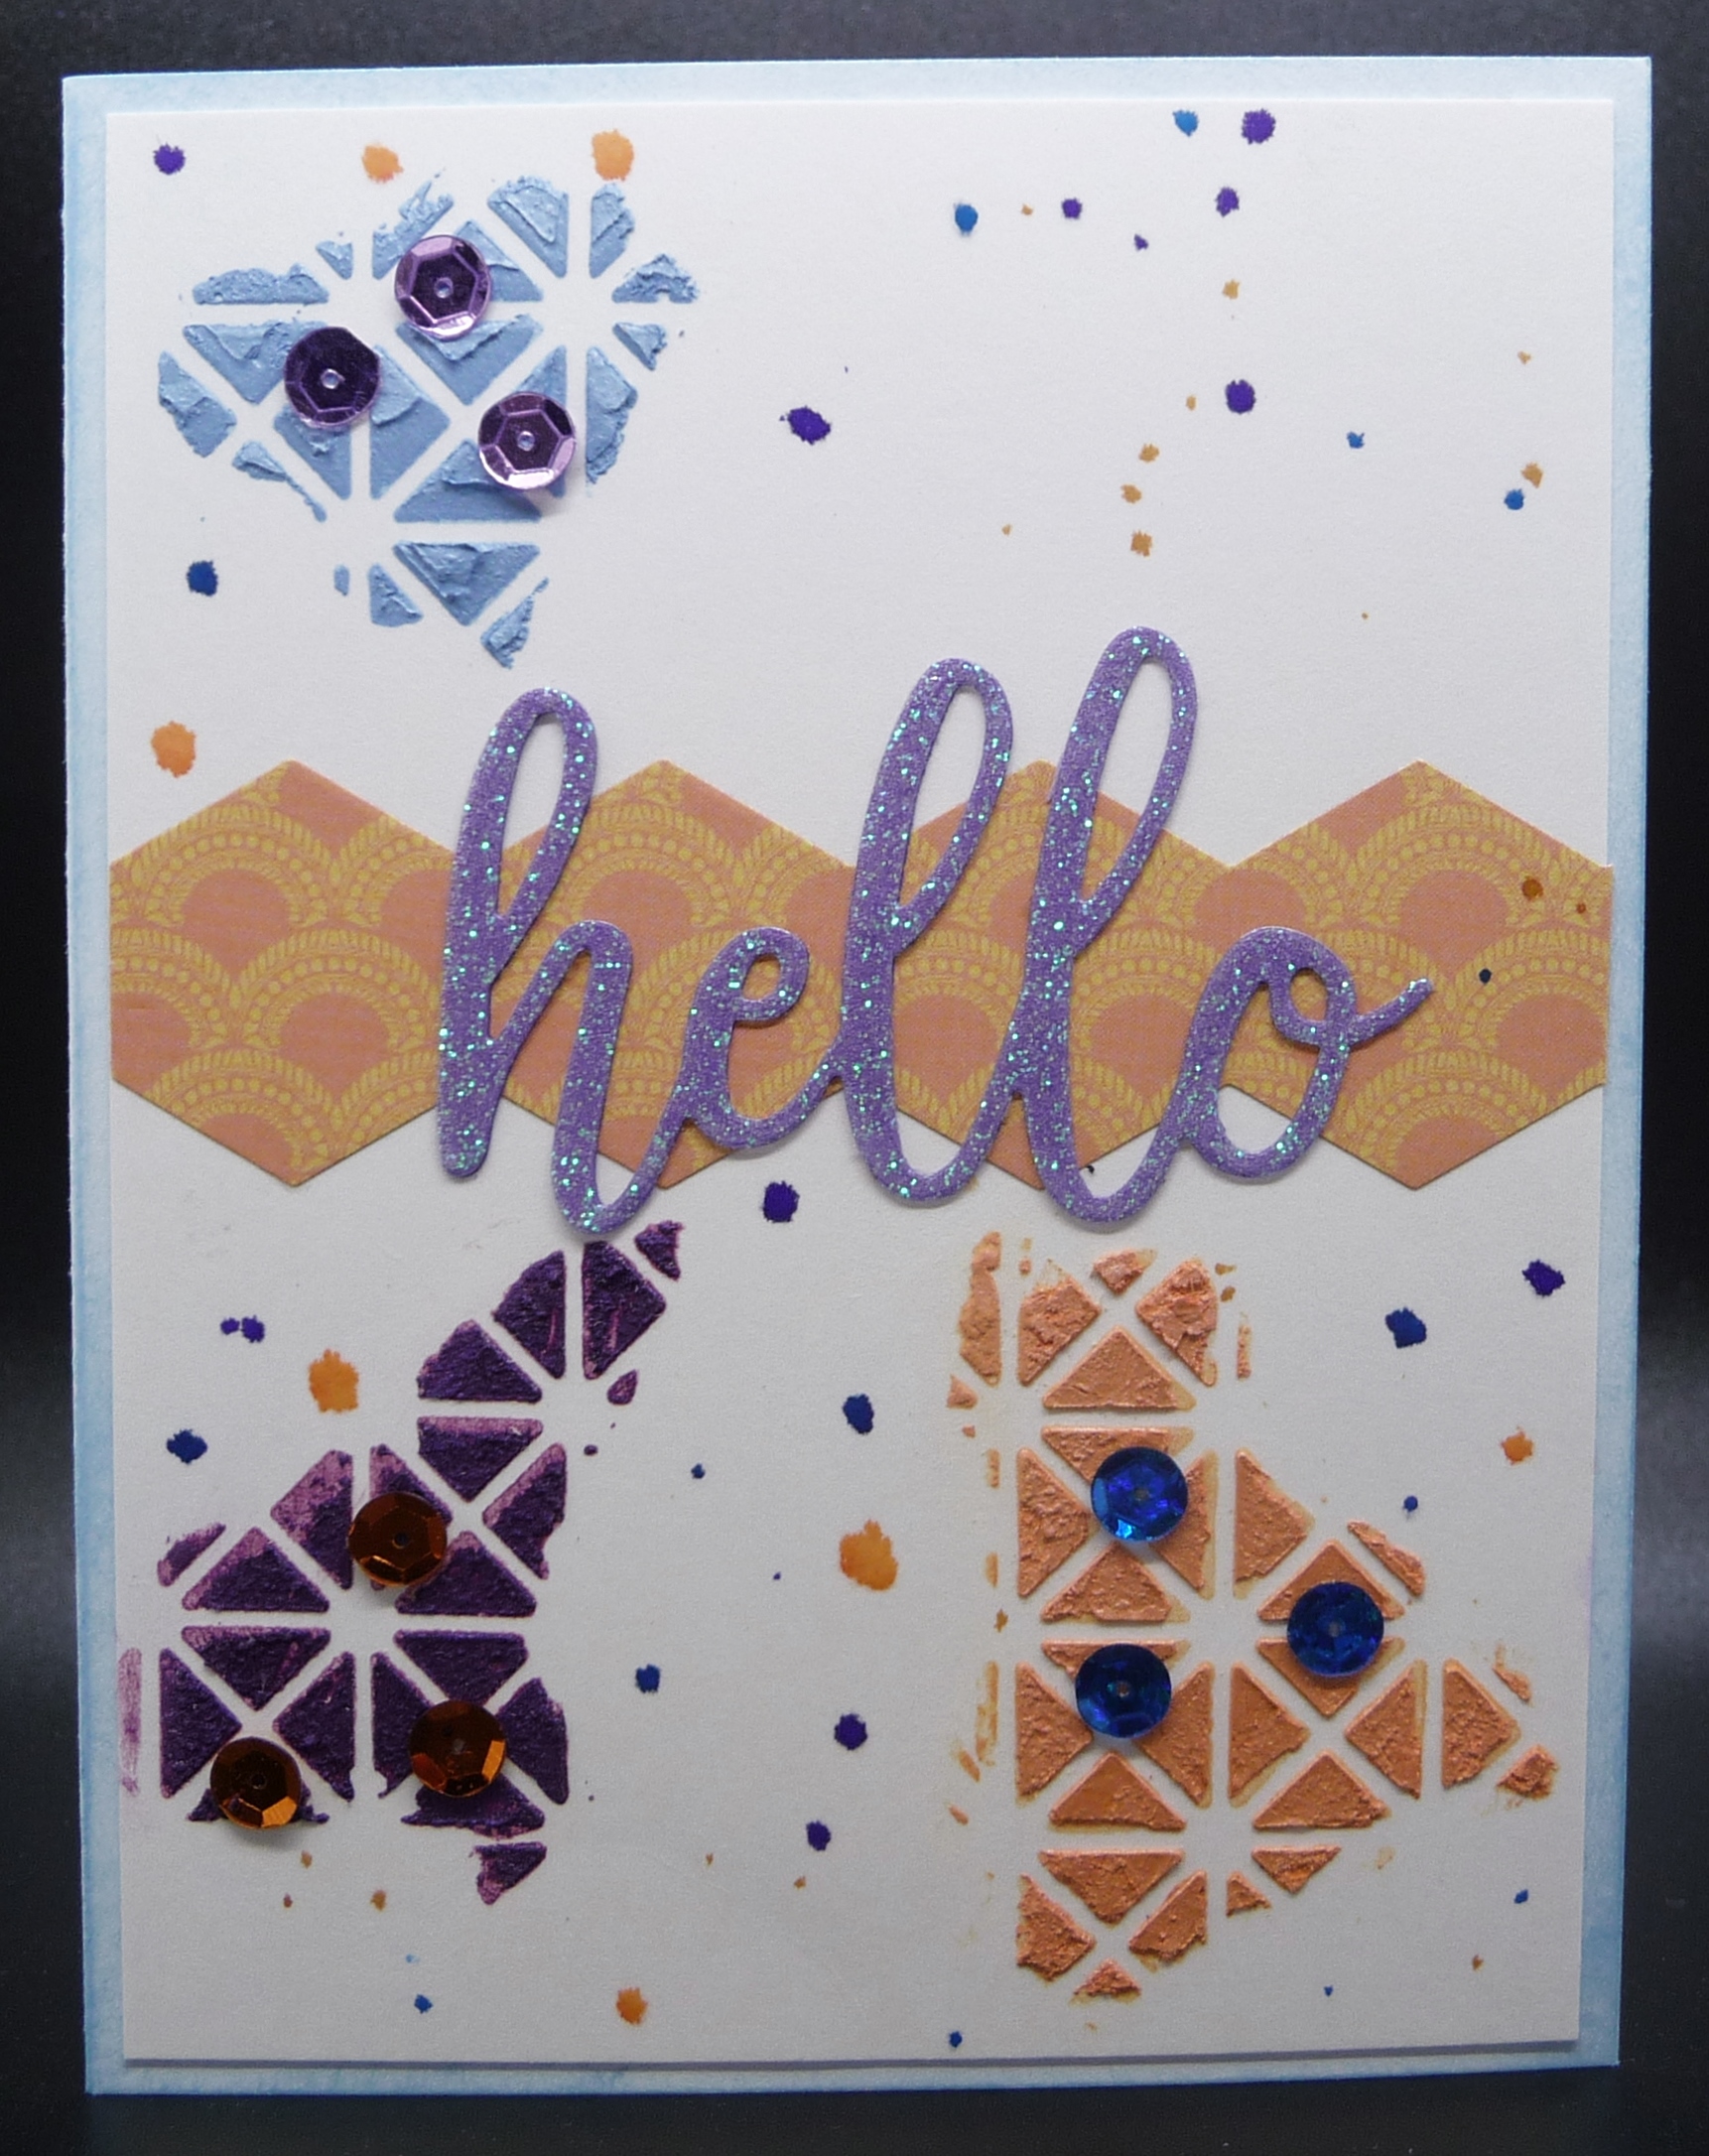
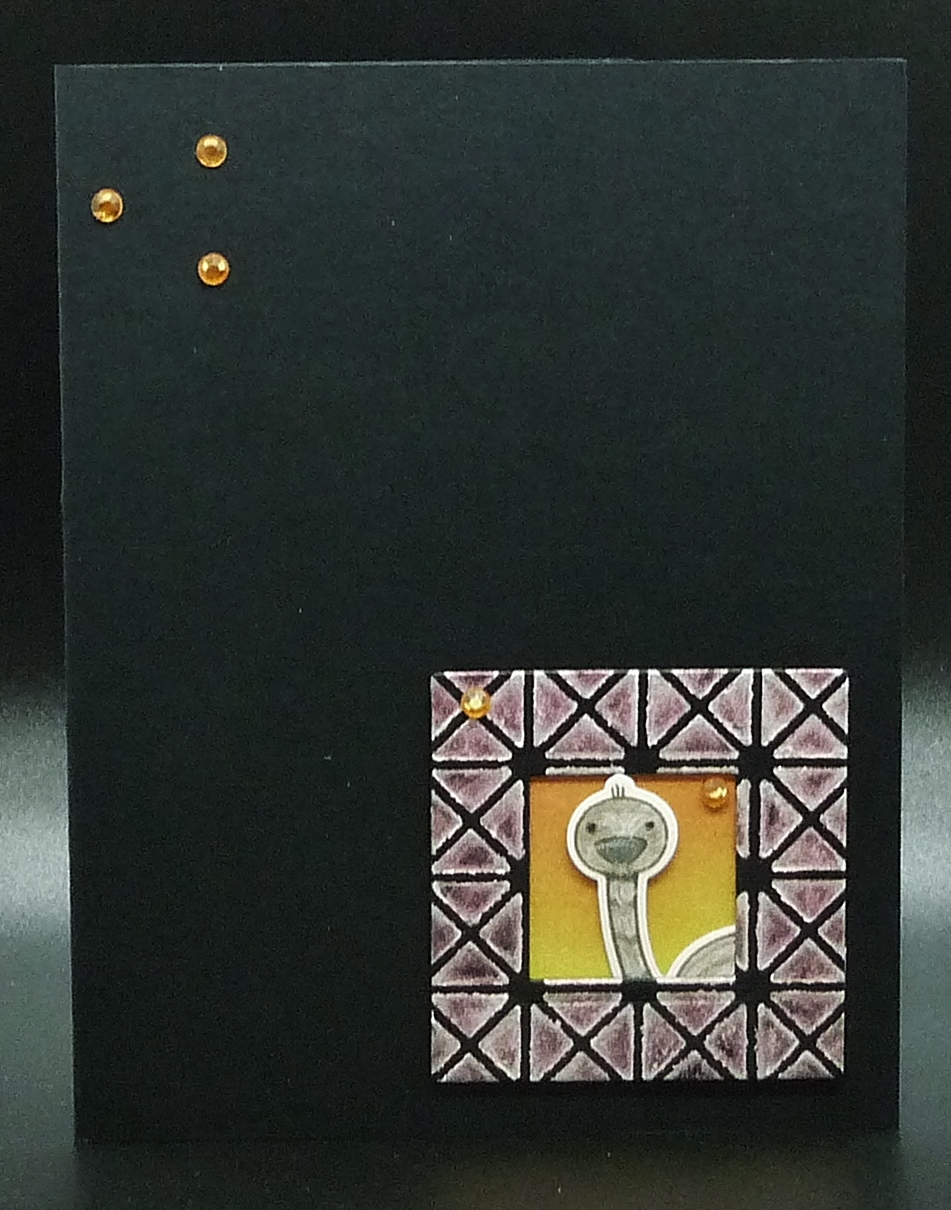
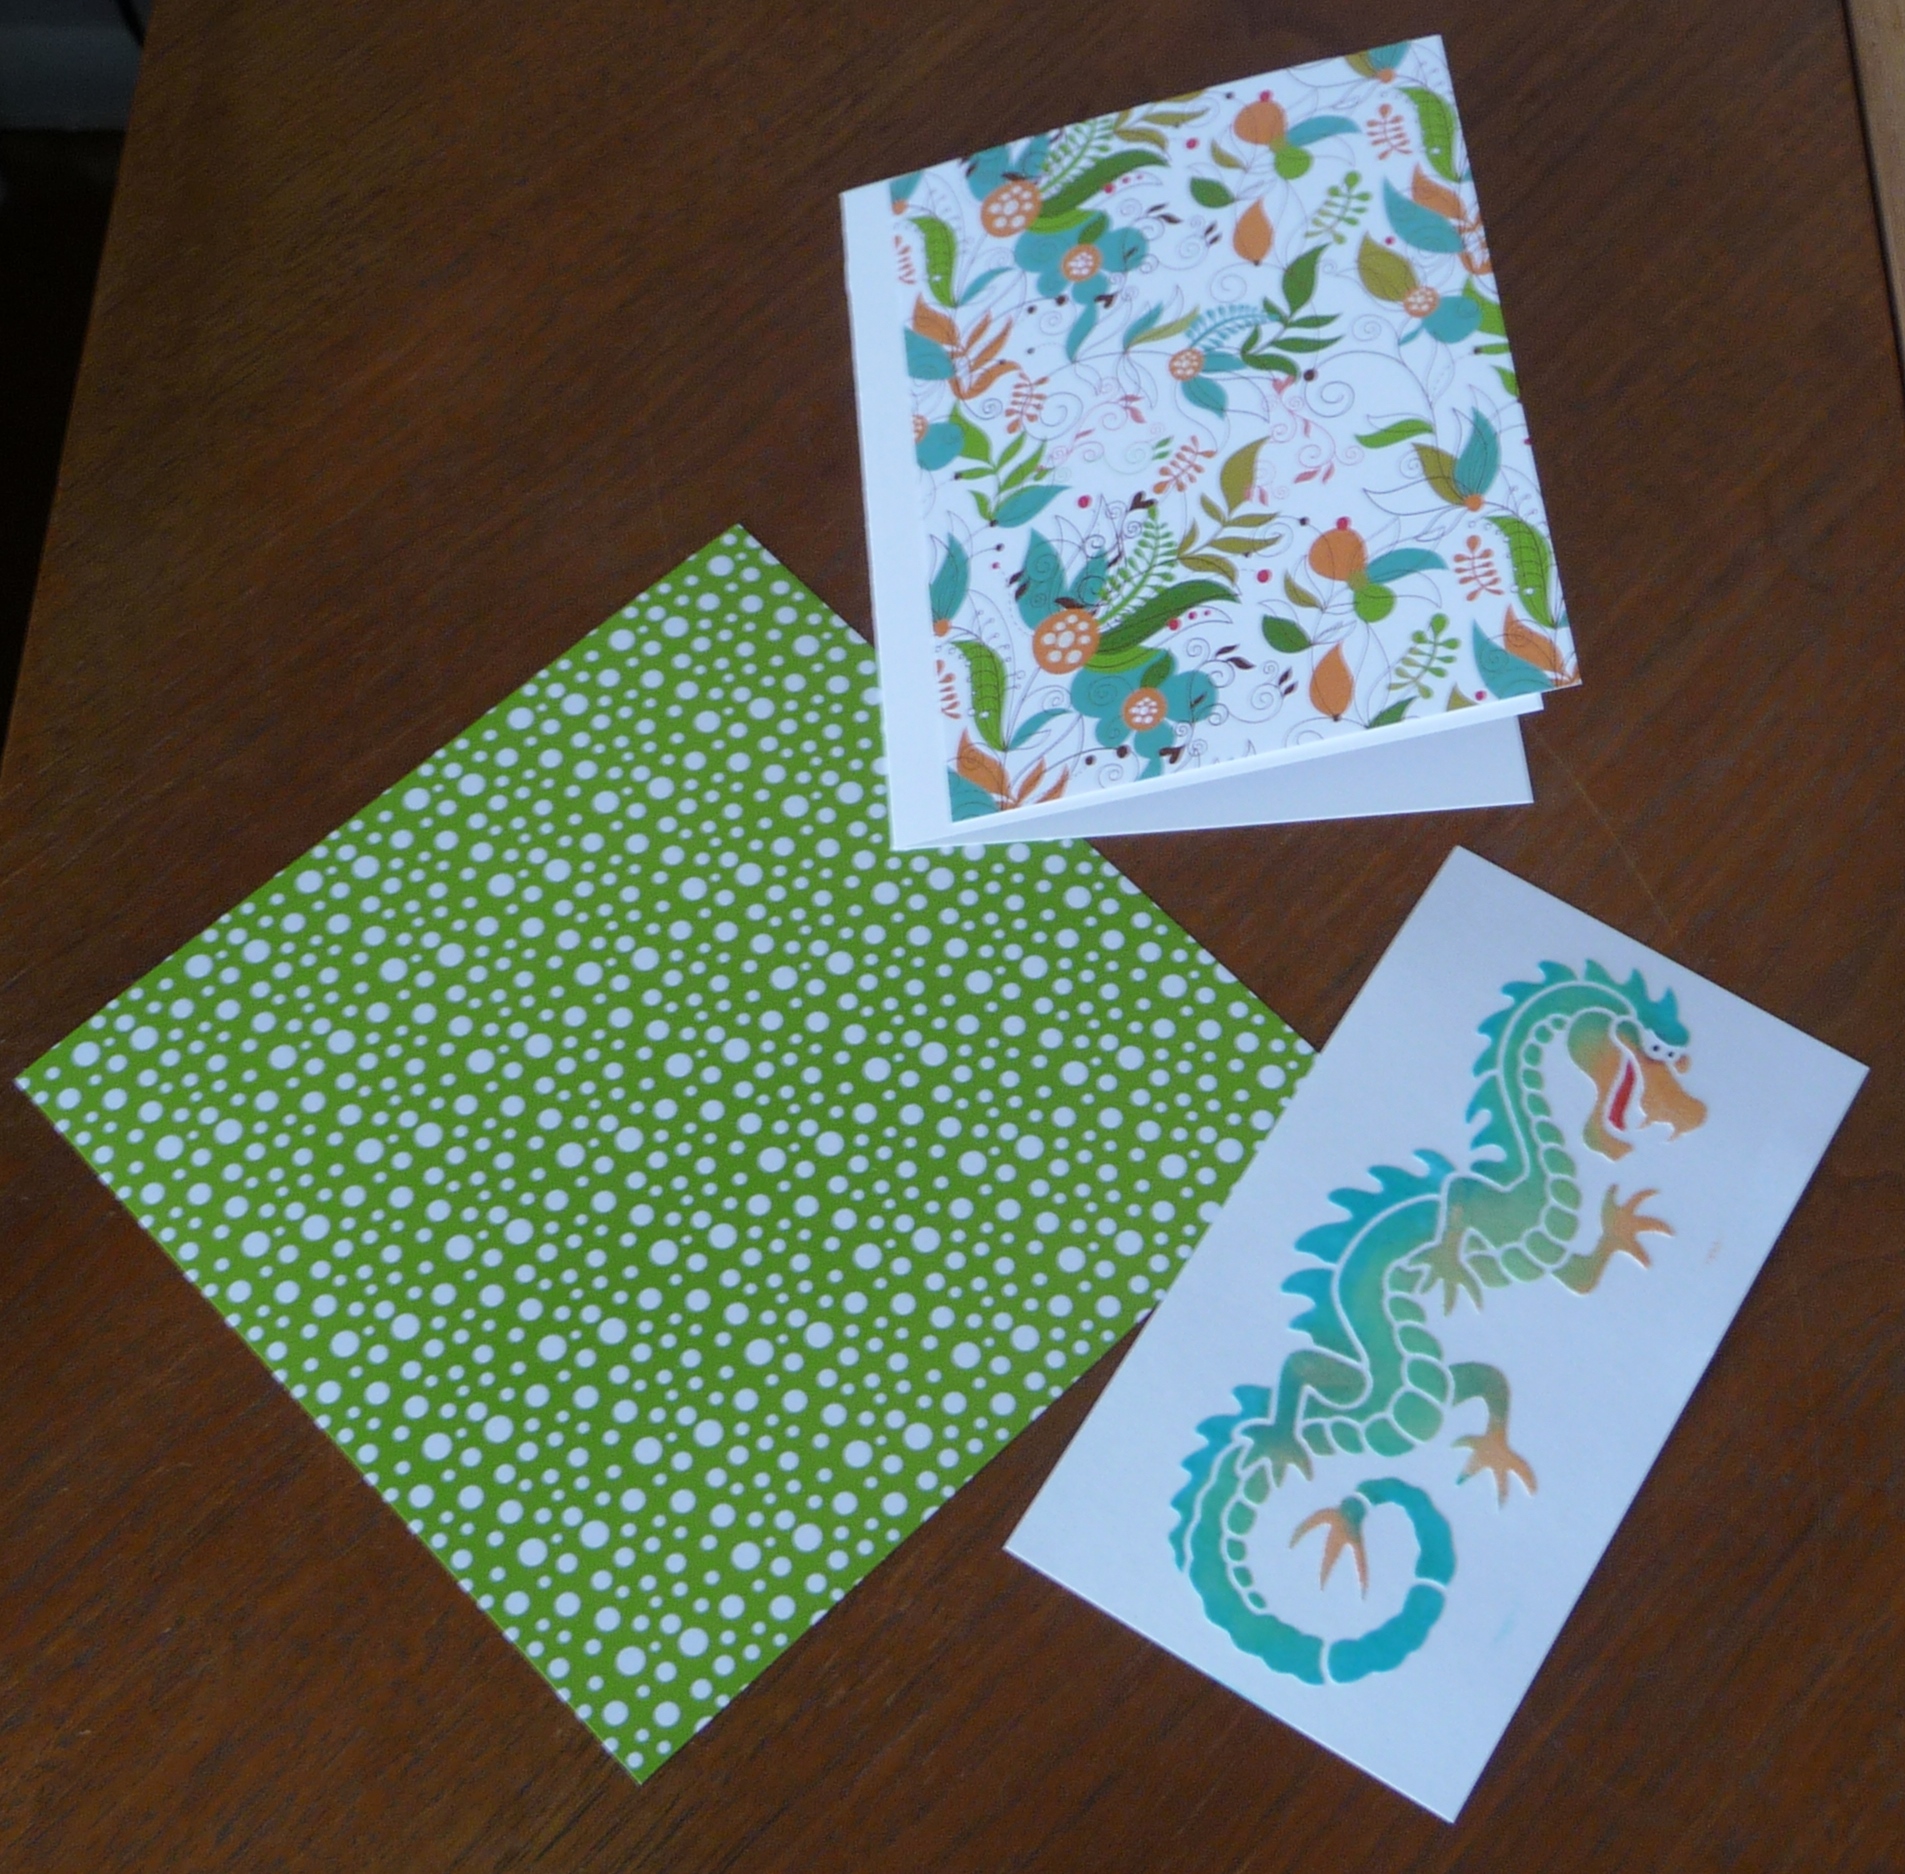
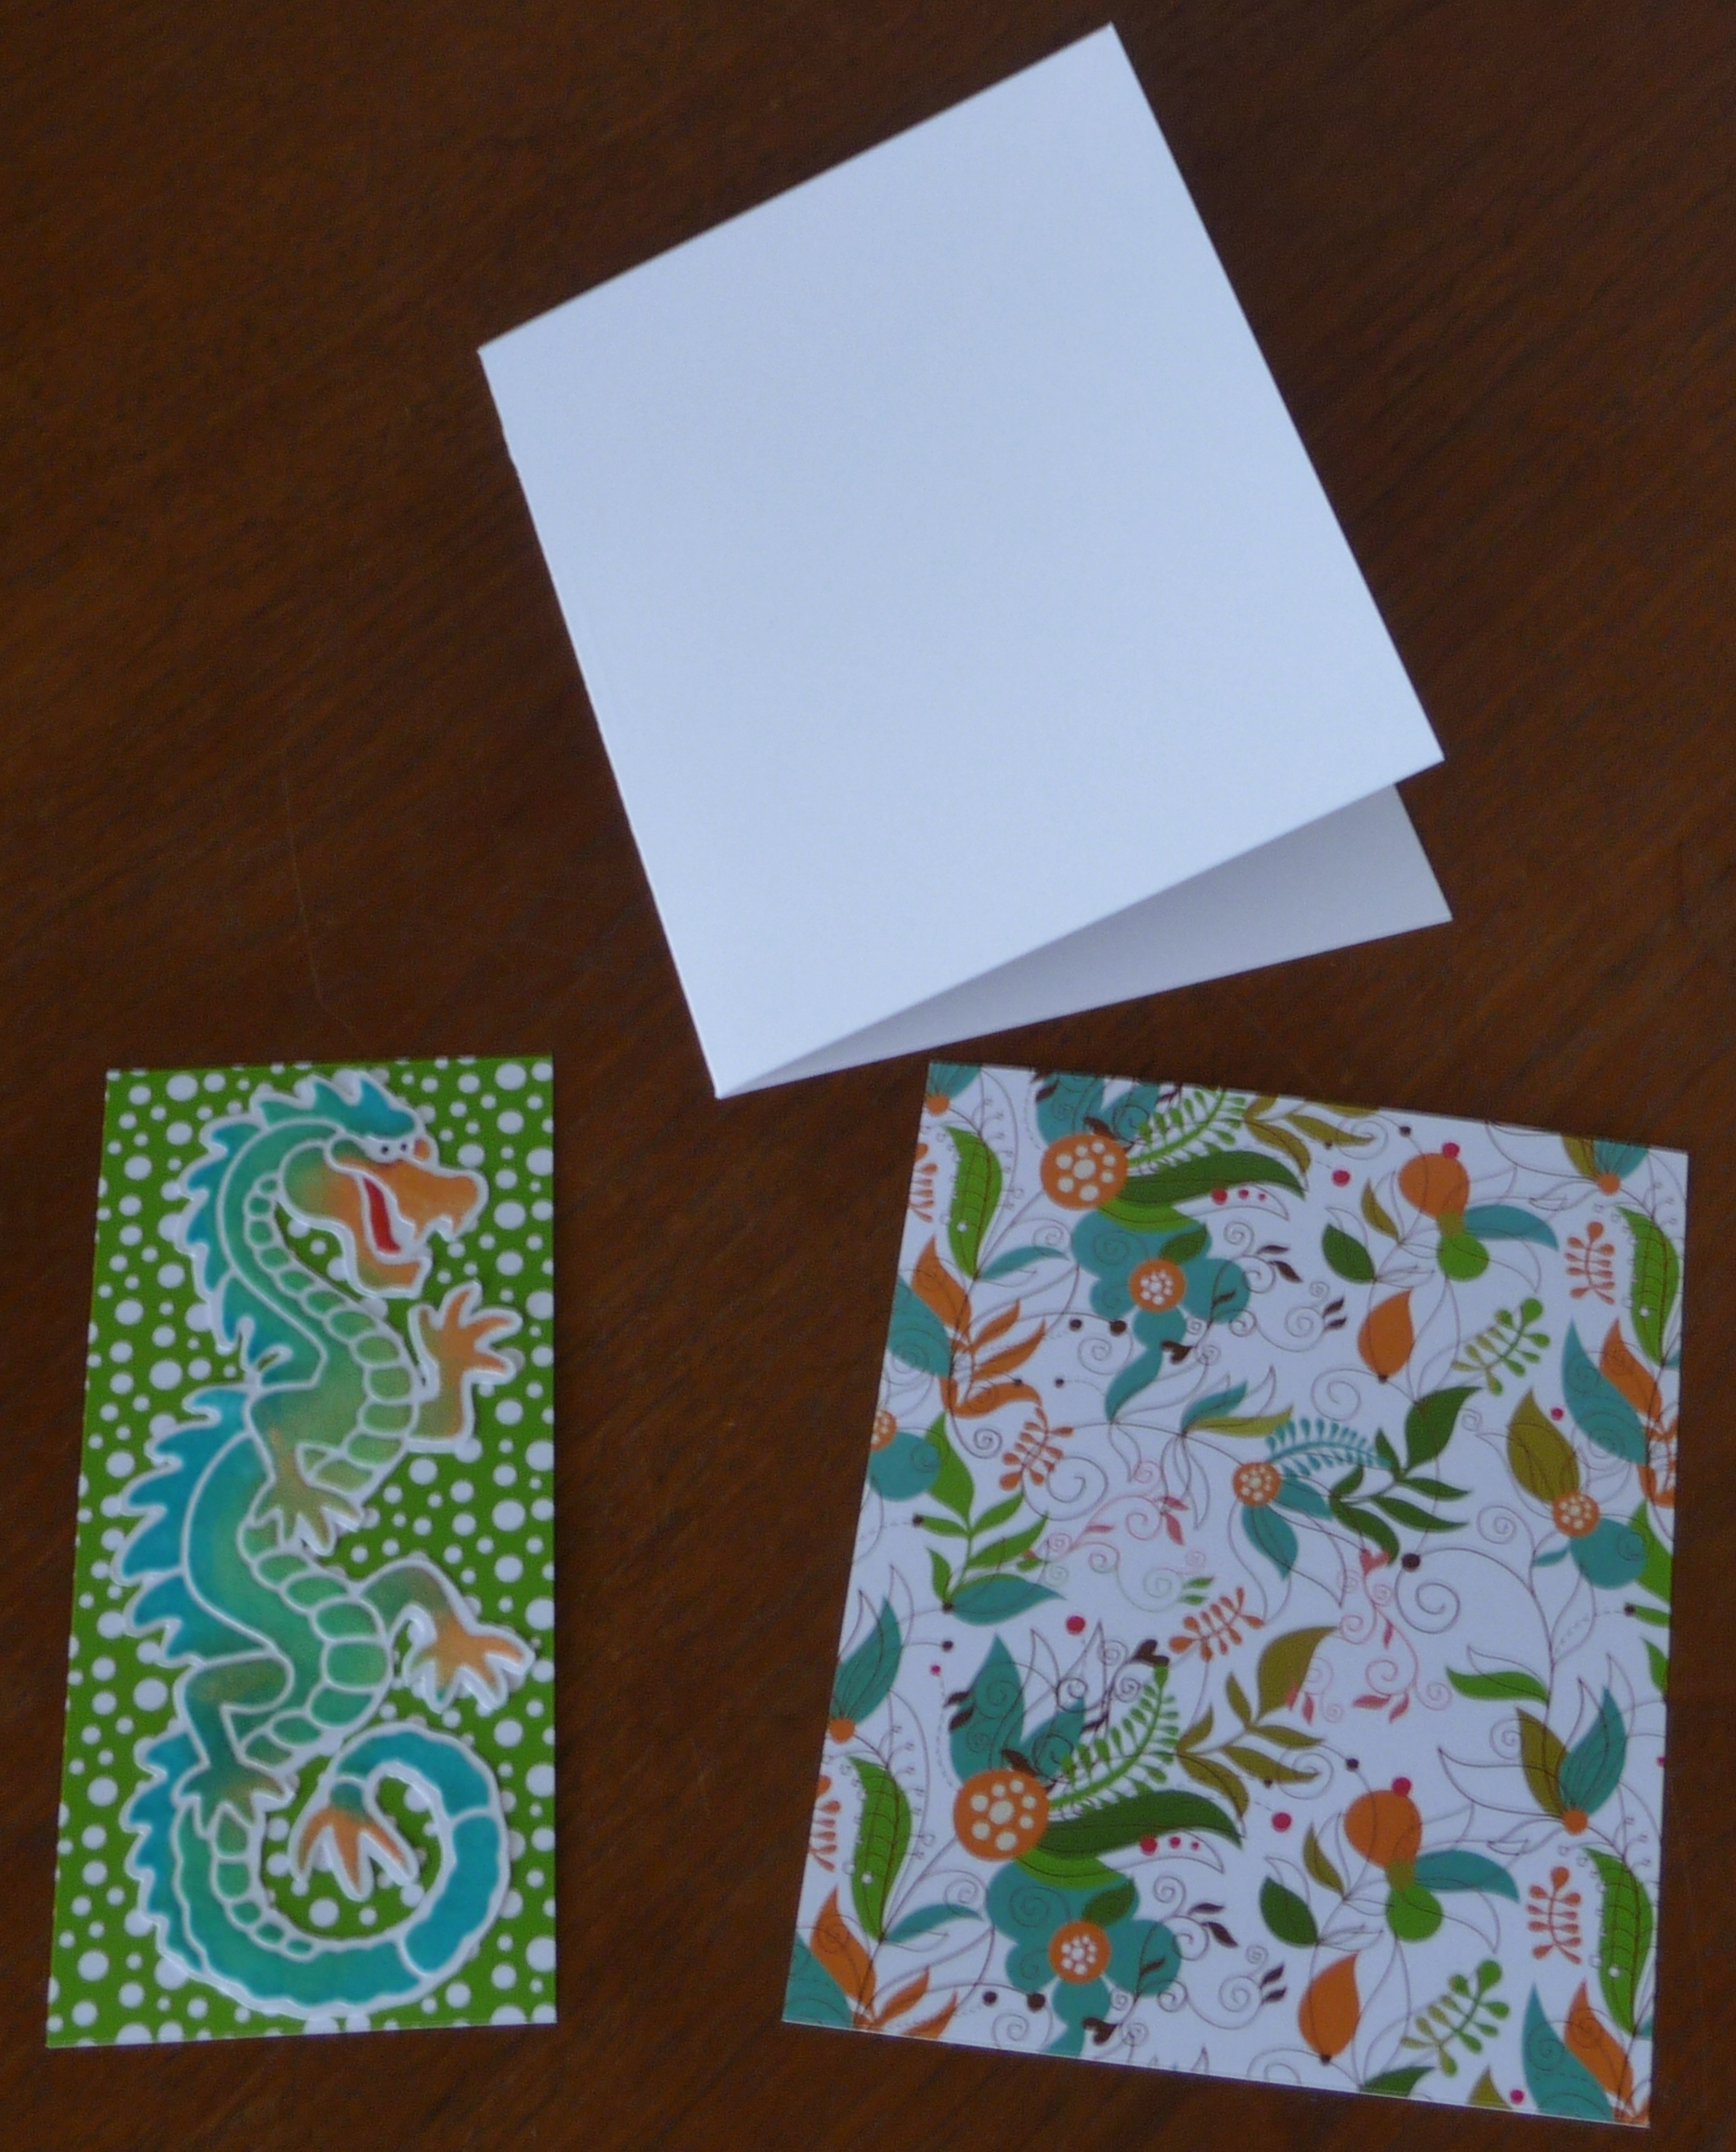
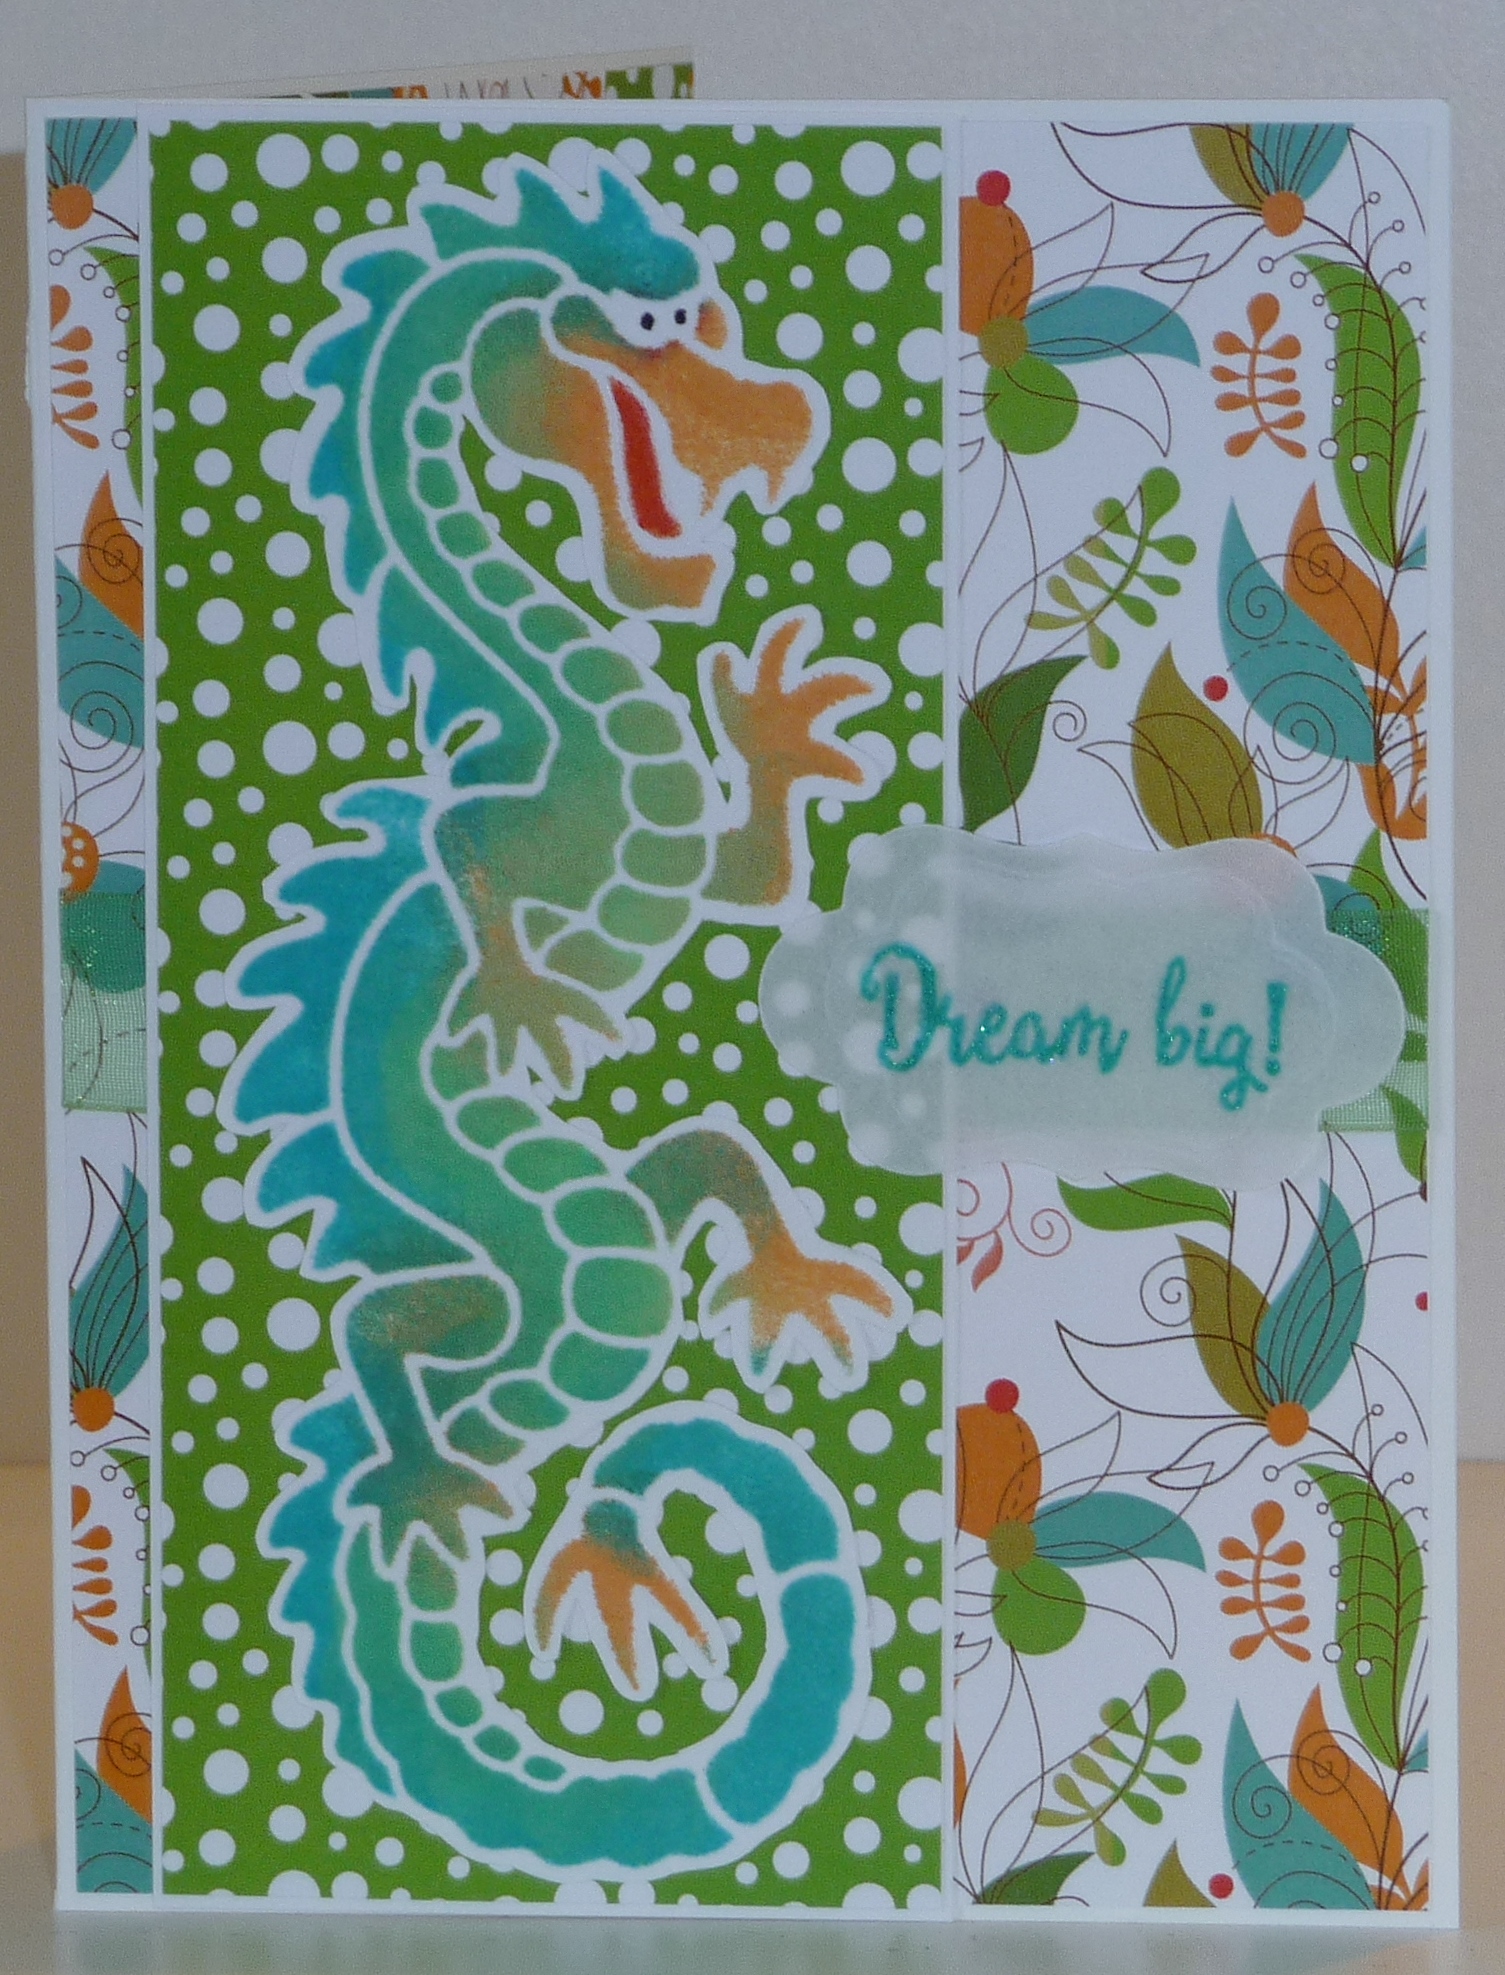
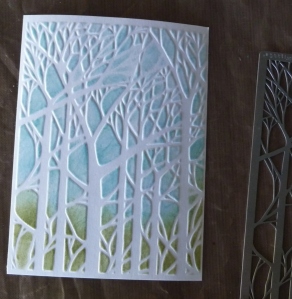
This is a card I made with the first background.

3-25-14 Textured Baby

For this one, I used a card stock stencil I cut with my Silhouette and laid it across the card base, then smoothed embossing paste across.  After the embossing paste was in the areas I wanted it, I pulled the “stencil” straight up and off, then let the embossing paste dry completely before making the card.

There are lots of ways to use stencils, but these are a few ways to use them with coloring.

Thanks for spending some time with me today!

Brads or Knot

4-1-14 Stencils 10 MFP SWAT STV Knot

3-25-14 MFP SWAT STV 2

3-24-14 MFP FOSTV

The 3rd picture is of a card I made for my husband’s birthday according to the MFP SpeedyTV Friends of Speedy TV challenge to use 3 or more brads.  My husband’s favorite color is teal and he has been working with wood as of late, so made an appropriate card.  According to my son, it has plenty of “stuff” on it.  The sentiment is from the MFP Fabulous Dogs 2012 set.  Not sure where the fun screw head brads are from, but I’ve had them for a long time and love using them on masculine cards.  Embossed the sentiment with a fun embossing powder called By The Lake (Sparkle ‘n Sprinkle).

The first and second pictures are of the same card.  I made a pocket using knotted ribbon in the corner according to the MFP SpeedyTV Sketch With a Twist challenge.  The background was made using the Bare Trees stencil (Dreamweavers) and some distress ink (Ranger).  On Tuesday, I’ll have a tutorial on using stencils on here.  The bookmark is tucked in the pocket, but can be pulled out and used.  The set I used is called Enjoy The Sunshine (Gina K).

So now you have a couple of fun ways to dress up your cards. . .brads and knots.

Thanks for spending some time with me today!